


In the world of messaging apps, Telegram stands out with its robust bot capabilities. With the recent updates, integrating web applications with Telegram bots has become a game-changer for developers. This blog will guide you through the process of building a shopping bot using React and Telegram's API. We'll cover everything from setting up your environment to deploying your bot. Let's dive in!
Getting Started: Steps to Follow 📋
Before we start coding, there are a few prerequisites and steps to follow. Here's what you need:
- Download and install Node.js.
- Download and install Visual Studio Code.
- Create a React application using Create React App.
- Build the necessary components: Button, Card, and Cart.
- Deploy your application on Netlify.
By the end of this guide, you will have a fully functioning shopping bot connected to your web app!
Step 1: Setting Up Your React Application ⚙️
First, ensure you have Node.js and Visual Studio Code installed. Open a terminal and navigate to your chosen directory. Use the following command to create a new React application:
npx create-react-app telegram-shopping-botOnce the installation is complete, navigate into your project folder and start the development server:
cd telegram-shopping-bot
npm start
This will give you a basic boilerplate for your React app. Next, let's clean up the unnecessary files to make our project more manageable.
Creating the Button Component 🔘
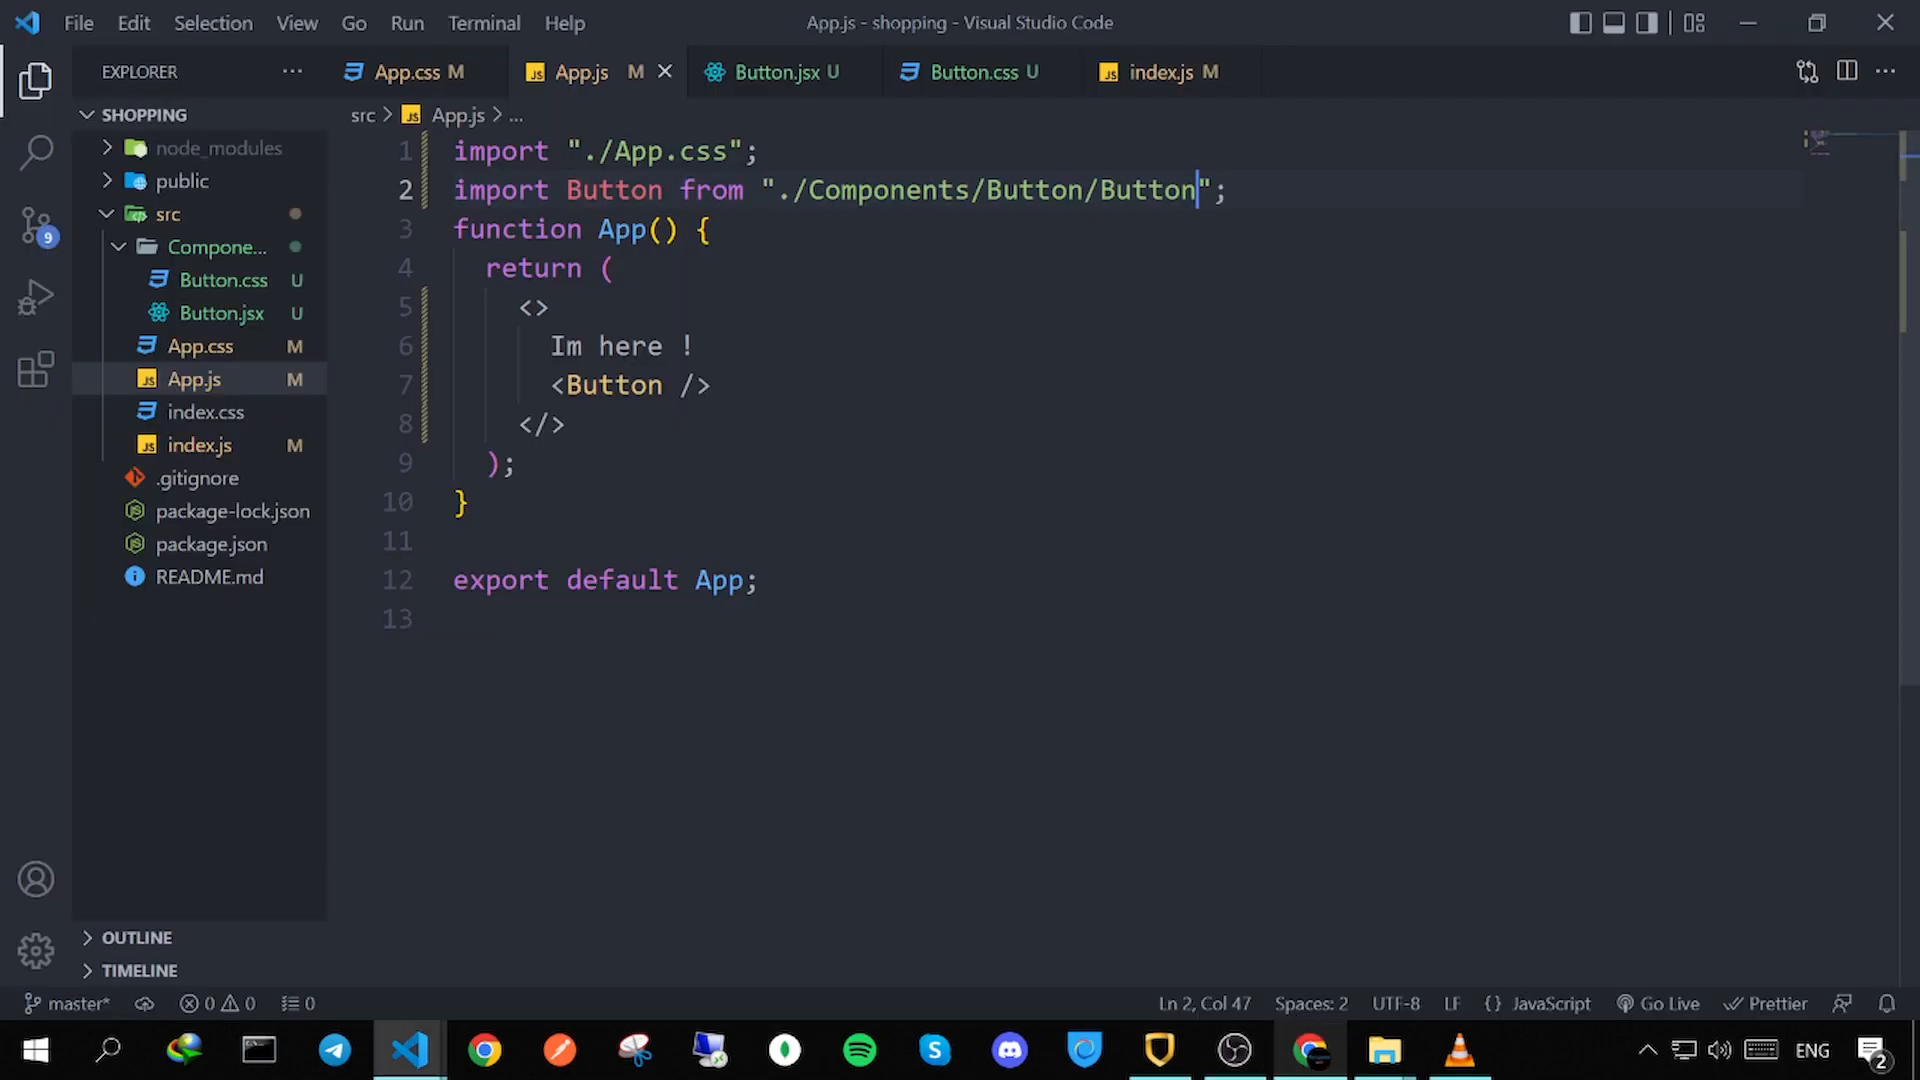
Now that we have our project set up, it's time to create our first component: the Button. Create a new folder named components in the src directory and add two files: Button.jsx and Button.css.
In Button.jsx, define a functional component that accepts props for dynamic rendering:
import React from 'react';
import './Button.css';
const Button = ({ title, type, onClick, disabled }) => {
return (
);
};
export default Button;In Button.css, style your button according to its type, such as 'add', 'remove', or 'checkout'. This will ensure that your buttons are visually distinct and user-friendly.
Step 3: Building the Card Component 🃏
Next, we will create the Card component which will display our food items. Create Card.jsx and Card.css in the components folder.
In Card.jsx, render the food items dynamically from a data source:
import React from 'react';
import './Card.css';

const Card = ({ food, onAdd, onRemove }) => {
    return (
{food.title}
${food.price}
    );
};

export default Card;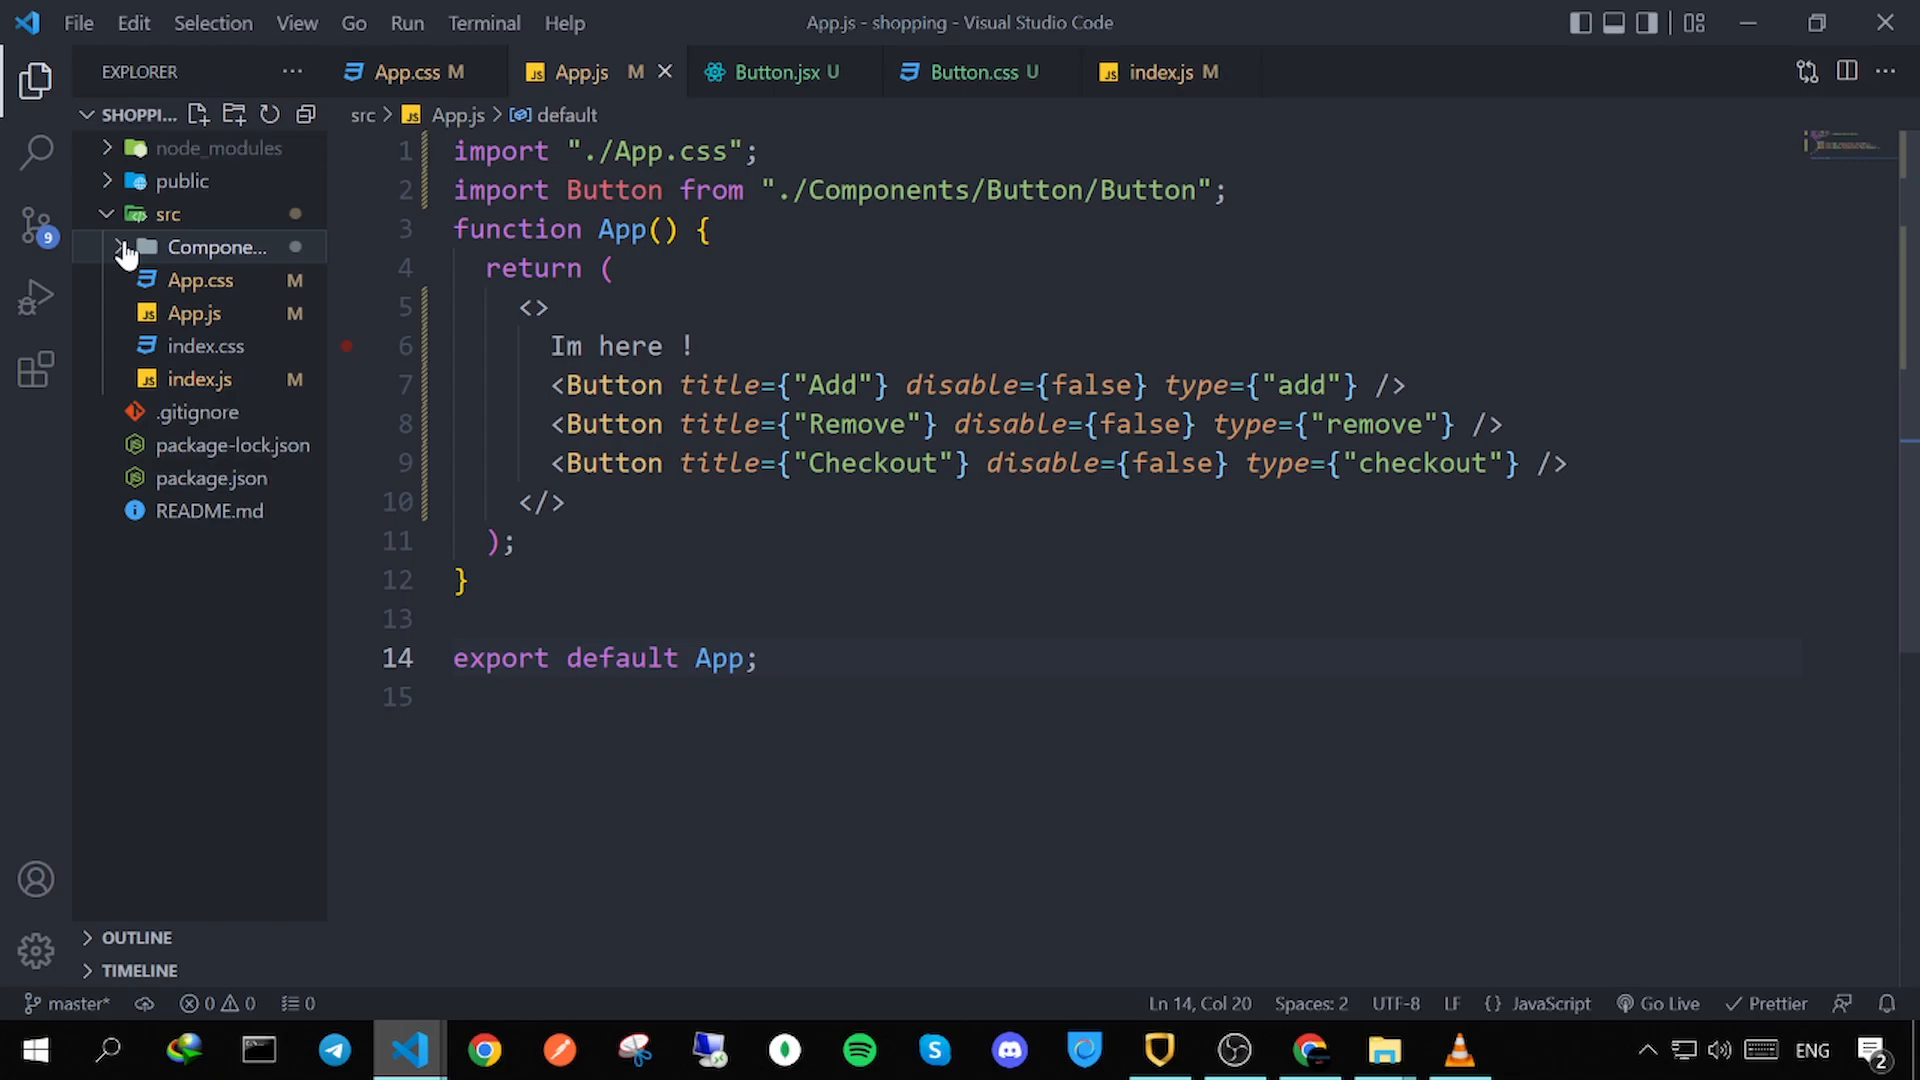
Step 4: Implementing the Cart Component 🛒
The Cart component will manage the items added by users. Create Cart.jsx and Cart.css in the components folder.
In Cart.jsx, use state management to track items added to the cart:
import React, { useState } from 'react';
import './Cart.css';

const Cart = ({ items, onCheckout }) => {
    const totalPrice = items.reduce((total, item) => total + item.price * item.quantity, 0);

    return (
No items in cart
) : ( <>Total: ${totalPrice.toFixed(2)}
    );
};

export default Cart;
Step 5: Deploying on Netlify and Creating the Bot 🚀
Once your components are ready, it's time to deploy your application. Build your project by running:
npm run buildAfter building, go to Netlify and sign up for an account. You can drag and drop your build folder to deploy your application easily.
Now, to create your Telegram bot, go to BotFather on Telegram. Follow the instructions to create a new bot and obtain your API token. Use this token in your application to connect your web app to the Telegram API.
In your React app, include the Telegram Web App script in your index.html file:
<script src="https://telegram.org/js/telegram-web-app.js"></script>Now, you can use the Telegram API to send messages, handle payments, and more!
Conclusion 🎉
Congratulations! You've built a fully functioning shopping bot using React and connected it to Telegram. This bot can handle food orders, manage cart items, and even process payments. The possibilities are endless, and you can expand its functionalities as needed.
For more detailed information and to contribute to the code, check out the source code on GitHub.
Don't forget to subscribe to The Cymond's channel for more tutorials and updates!
