


Introduction 🌐
Welcome to the ultimate HTML and CSS series! In this journey, you will learn the essential skills needed to build fast and beautiful websites that work well on various devices. This tutorial assumes you have no prior knowledge of HTML or CSS, so we will start from scratch.
This series is divided into three parts: the first part covers the fundamentals of web development, the second dives into advanced concepts, and the third part ties everything together to build a responsive and fast website for a fictional cloud hosting company.
My name is Trusted Paddy, and I have taught millions how to code and become professional software engineers through my coding school and YouTube channel. If you’re new here, make sure to subscribe for more content!
What You Need 🛠️
Before we dive into coding, let's discuss the tools you'll need to take this course. First and foremost, you'll need a code editor. There are several options available, including Visual Studio Code (VS Code), Sublime Text, and Atom. For this course, we will use VS Code along with a few extensions to enhance our coding experience.
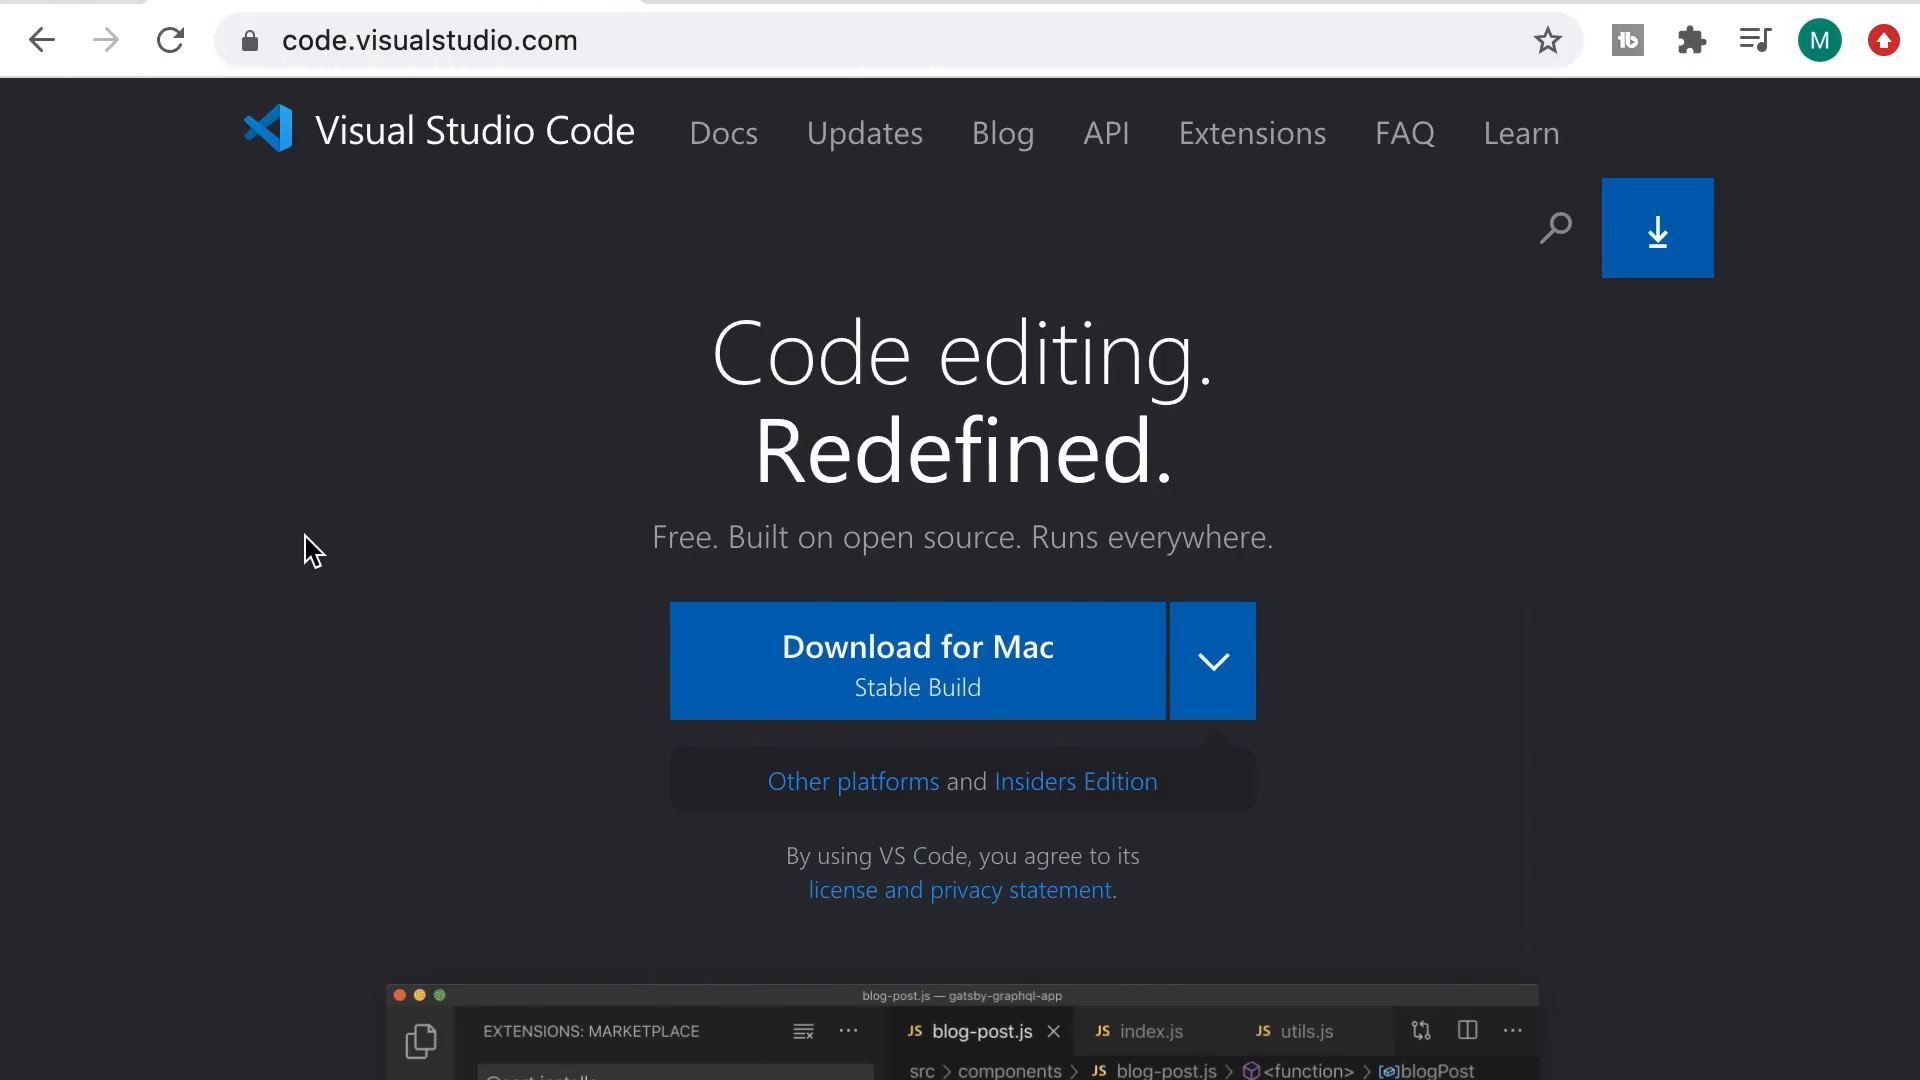
To get started, download the latest version of VS Code from code.visualstudio.com. Once you have it installed, we will install a couple of extensions: Prettier for code formatting and Live Server to launch our website in a development server.
In VS Code, open the Extensions panel, search for "Prettier," and click install. This extension formats our code to make it neat and readable. Next, search for "Live Server" and install it as well. This tool allows us to see our changes live in the browser.
Languages and Tools of Web Development 💻
In web development, there are three main languages you need to learn: HTML, CSS, and JavaScript. HTML, or Hypertext Markup Language, is used to define the structure of web pages. CSS, or Cascading Style Sheets, is used for styling these pages and making them visually appealing. JavaScript adds interactivity and functionality to web pages.
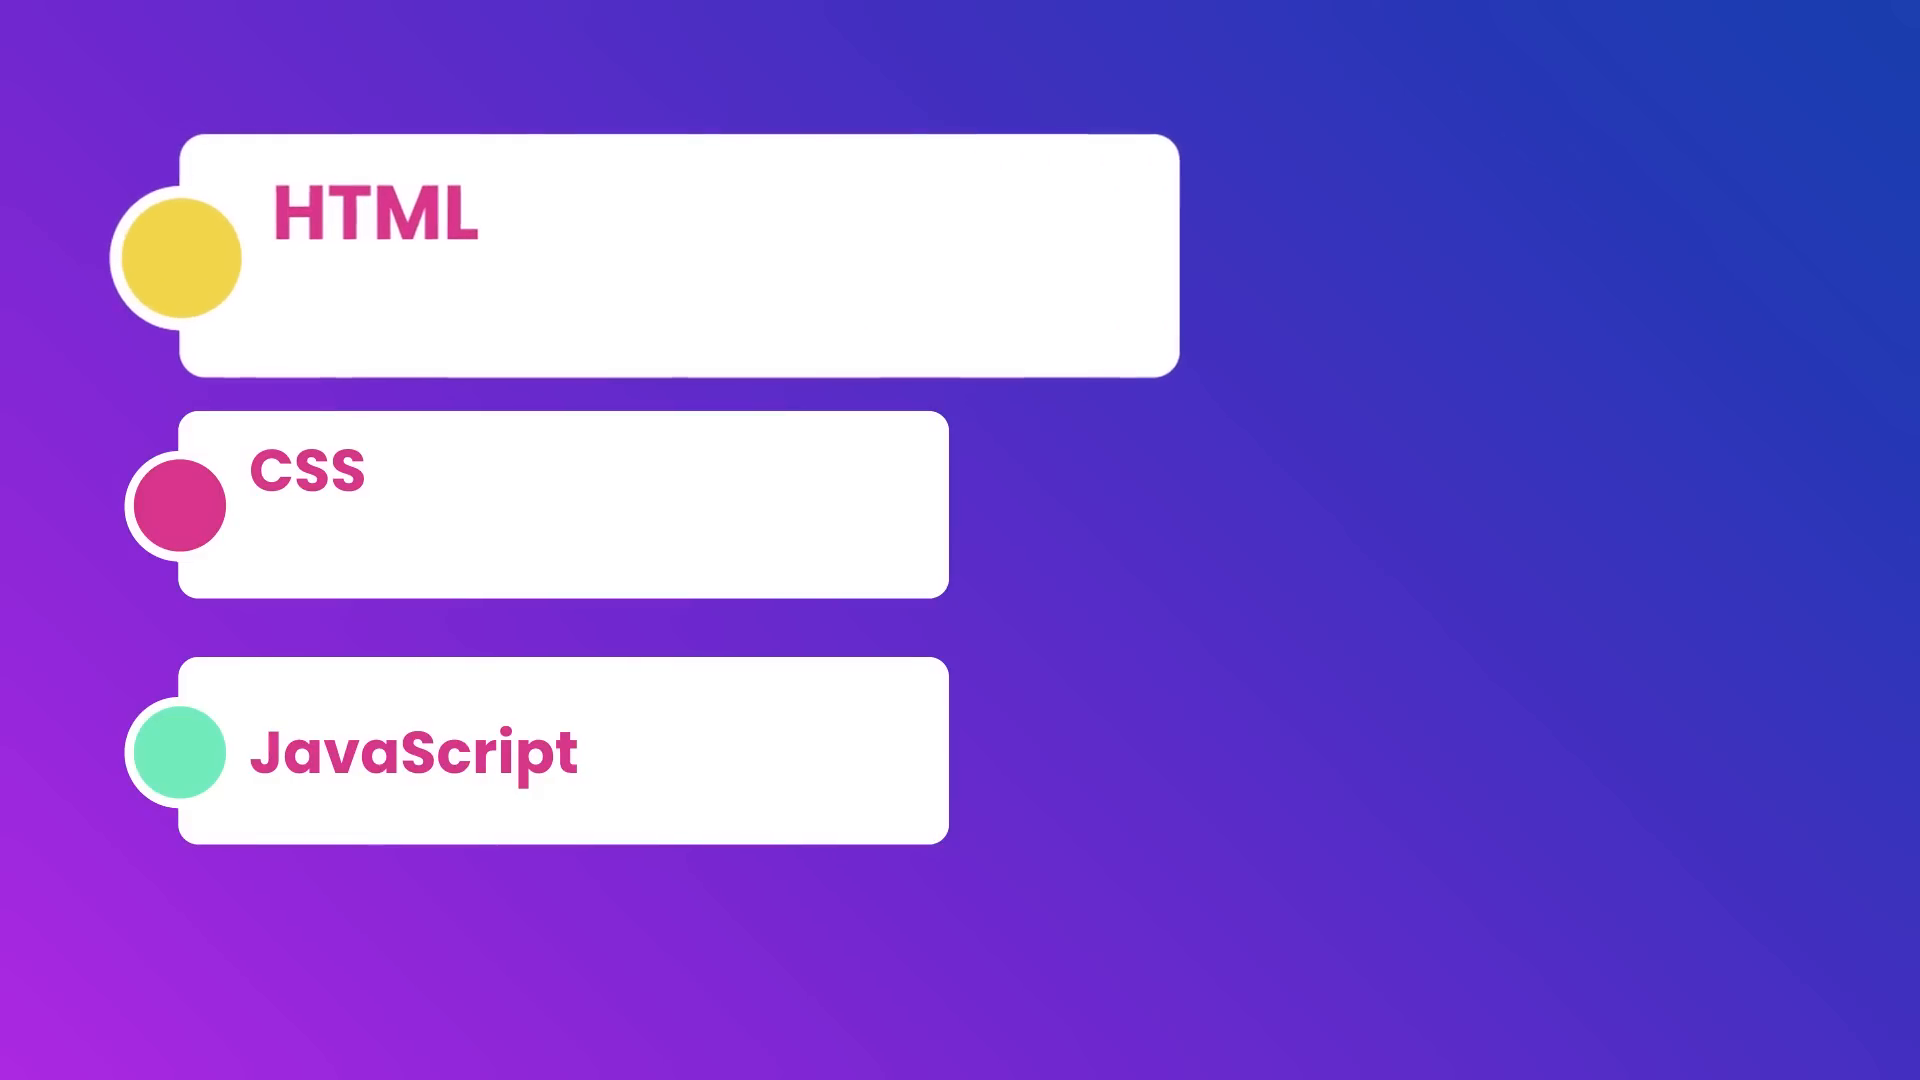
Think of a website as a building. HTML represents the skeleton or structure, CSS adds beautiful walls and windows, and JavaScript provides functionality, like an elevator. Understanding these languages is crucial for becoming a proficient front-end developer.
To get started, focus on learning HTML and CSS first. If you dedicate three to five hours a day to studying and coding, you should grasp these languages within a month or a month and a half. After that, you can move on to JavaScript, which may take another six weeks to learn.
How the Web Works 🌍
Have you ever wondered what happens when you type a website address into your browser? This section will explain the process in detail. When you enter a URL (Uniform Resource Locator), your browser, also called the client, sends a request to the server that hosts the website. This process is known as the client-server model.
The browser communicates with the server using a protocol called HTTP (Hypertext Transfer Protocol). When you send a request, the server responds with the requested data, typically an HTML document, which the browser then renders for you to see.
Understanding this process is vital for web developers, as it helps you troubleshoot issues and optimize your web pages. In the next lessons, you'll learn how to inspect network traffic, allowing you to see how requests and responses work in real-time.
Inspecting HTTP Requests and Responses 🔍
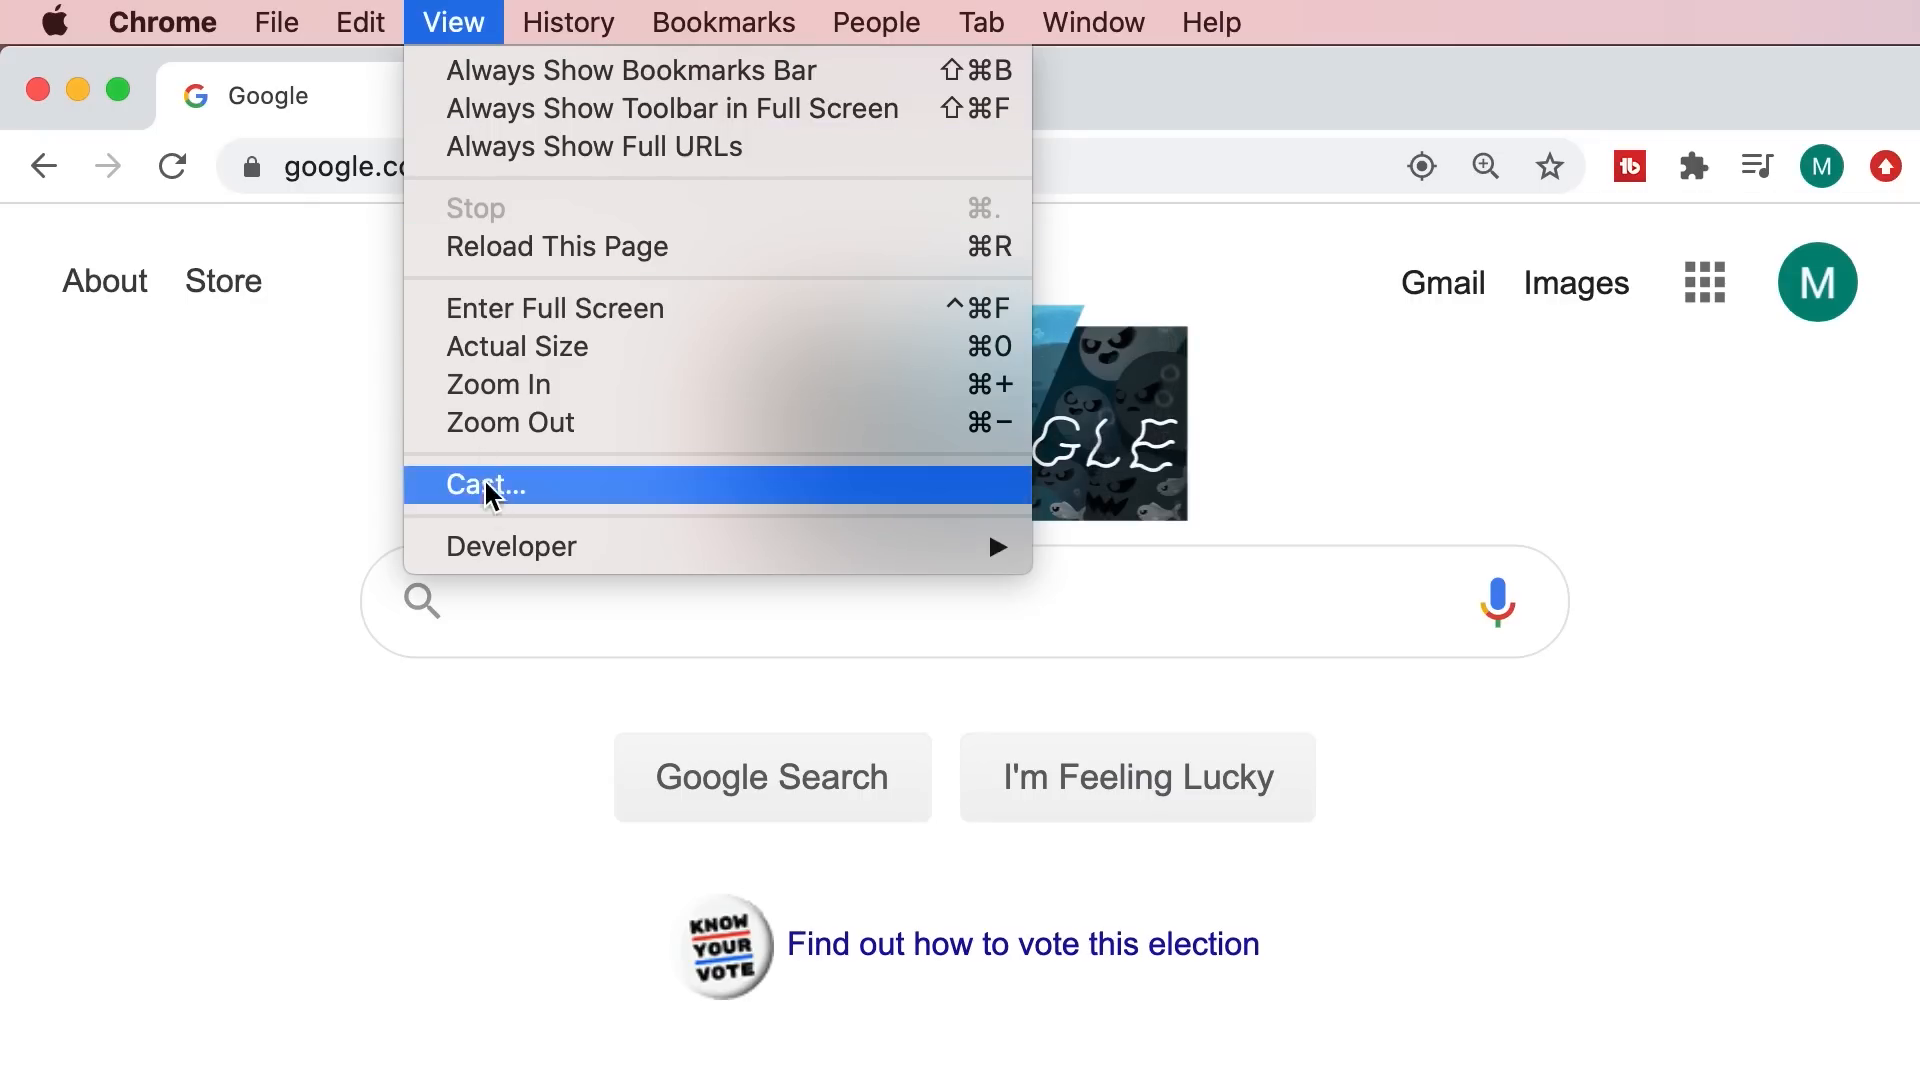
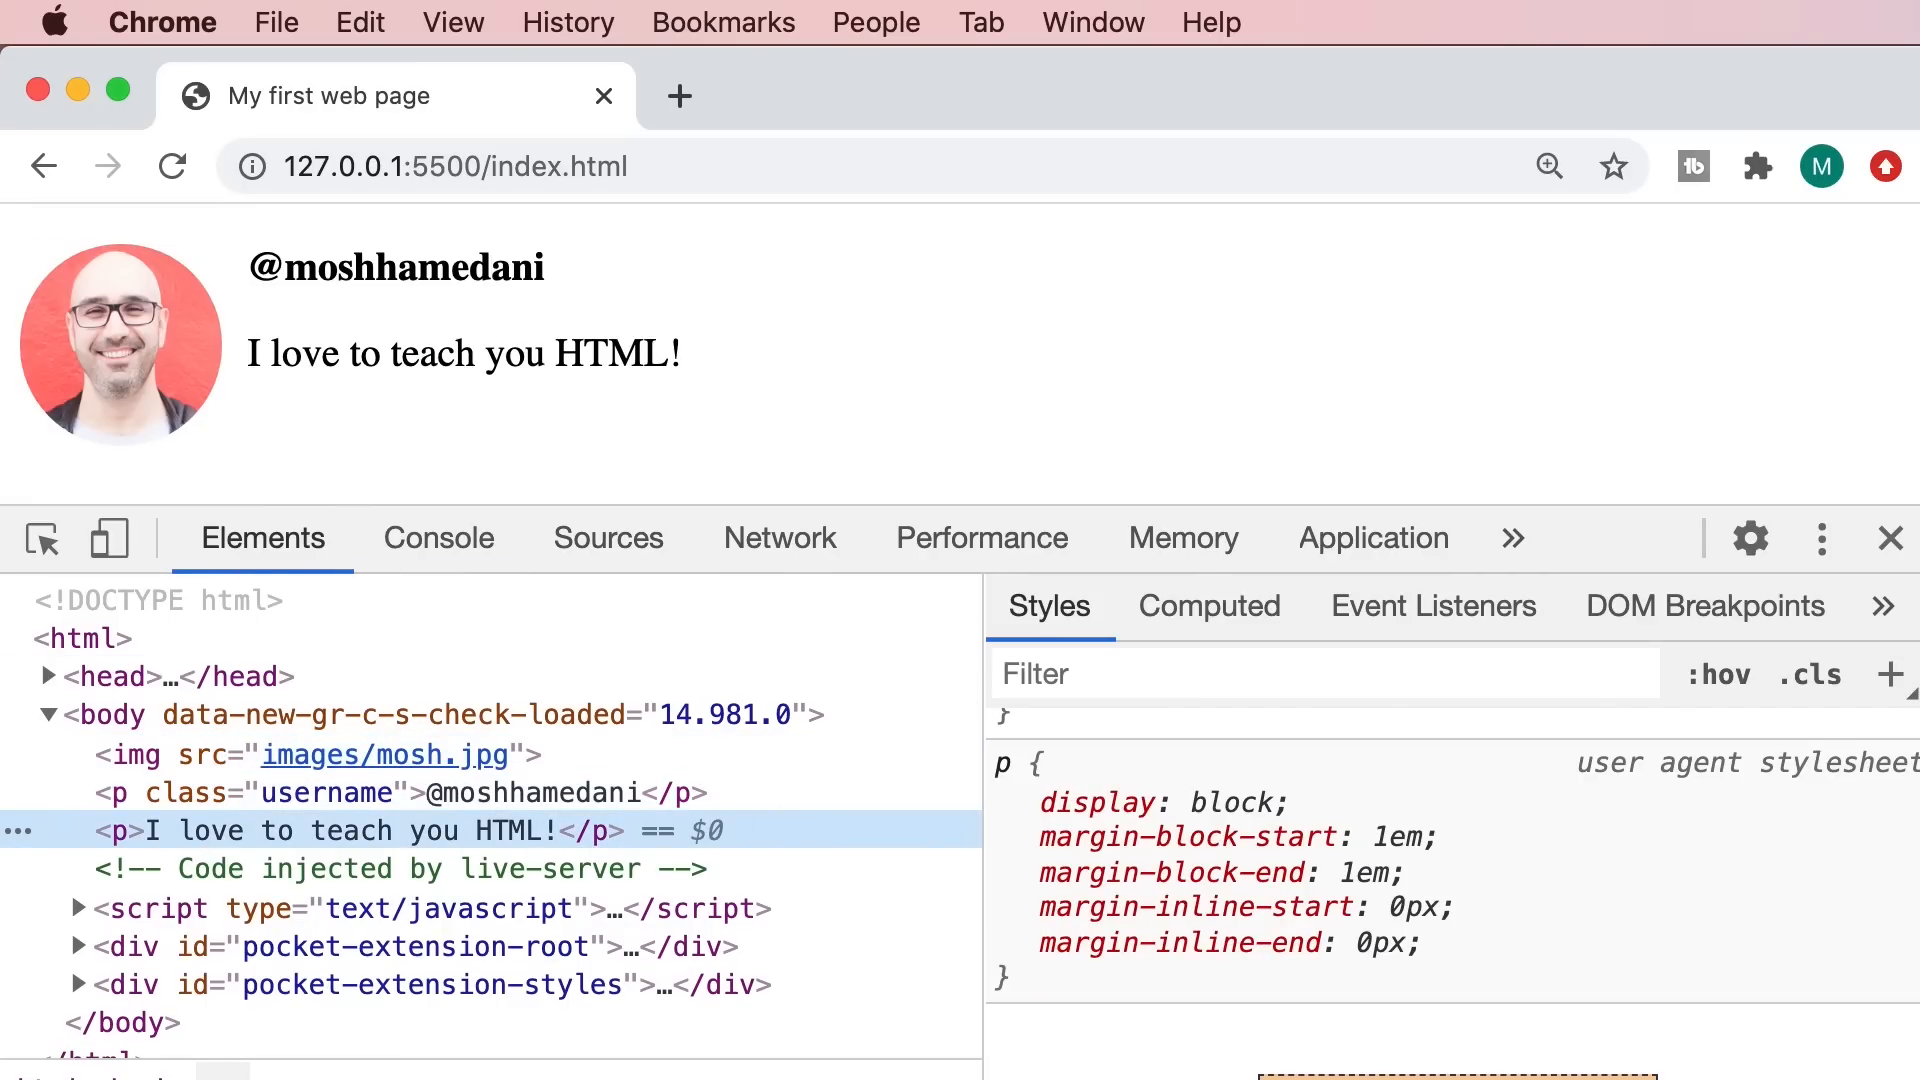
To see HTTP requests and responses in action, we can use Chrome DevTools. This powerful tool allows front-end developers to inspect network traffic. To access DevTools, navigate to your browser, right-click, and select "Inspect" or use the shortcut (Ctrl + Shift + I).
Once opened, go to the "Network" tab. Here, you will see all the HTTP requests made by your browser. Refresh the page to see these requests in action. Each request will show its status, the amount of data transferred, and other useful information.
By clicking on a request, you can view detailed information about it, including the request headers and response data. This functionality is crucial for debugging and optimizing your web applications.
HTML Basics 📄
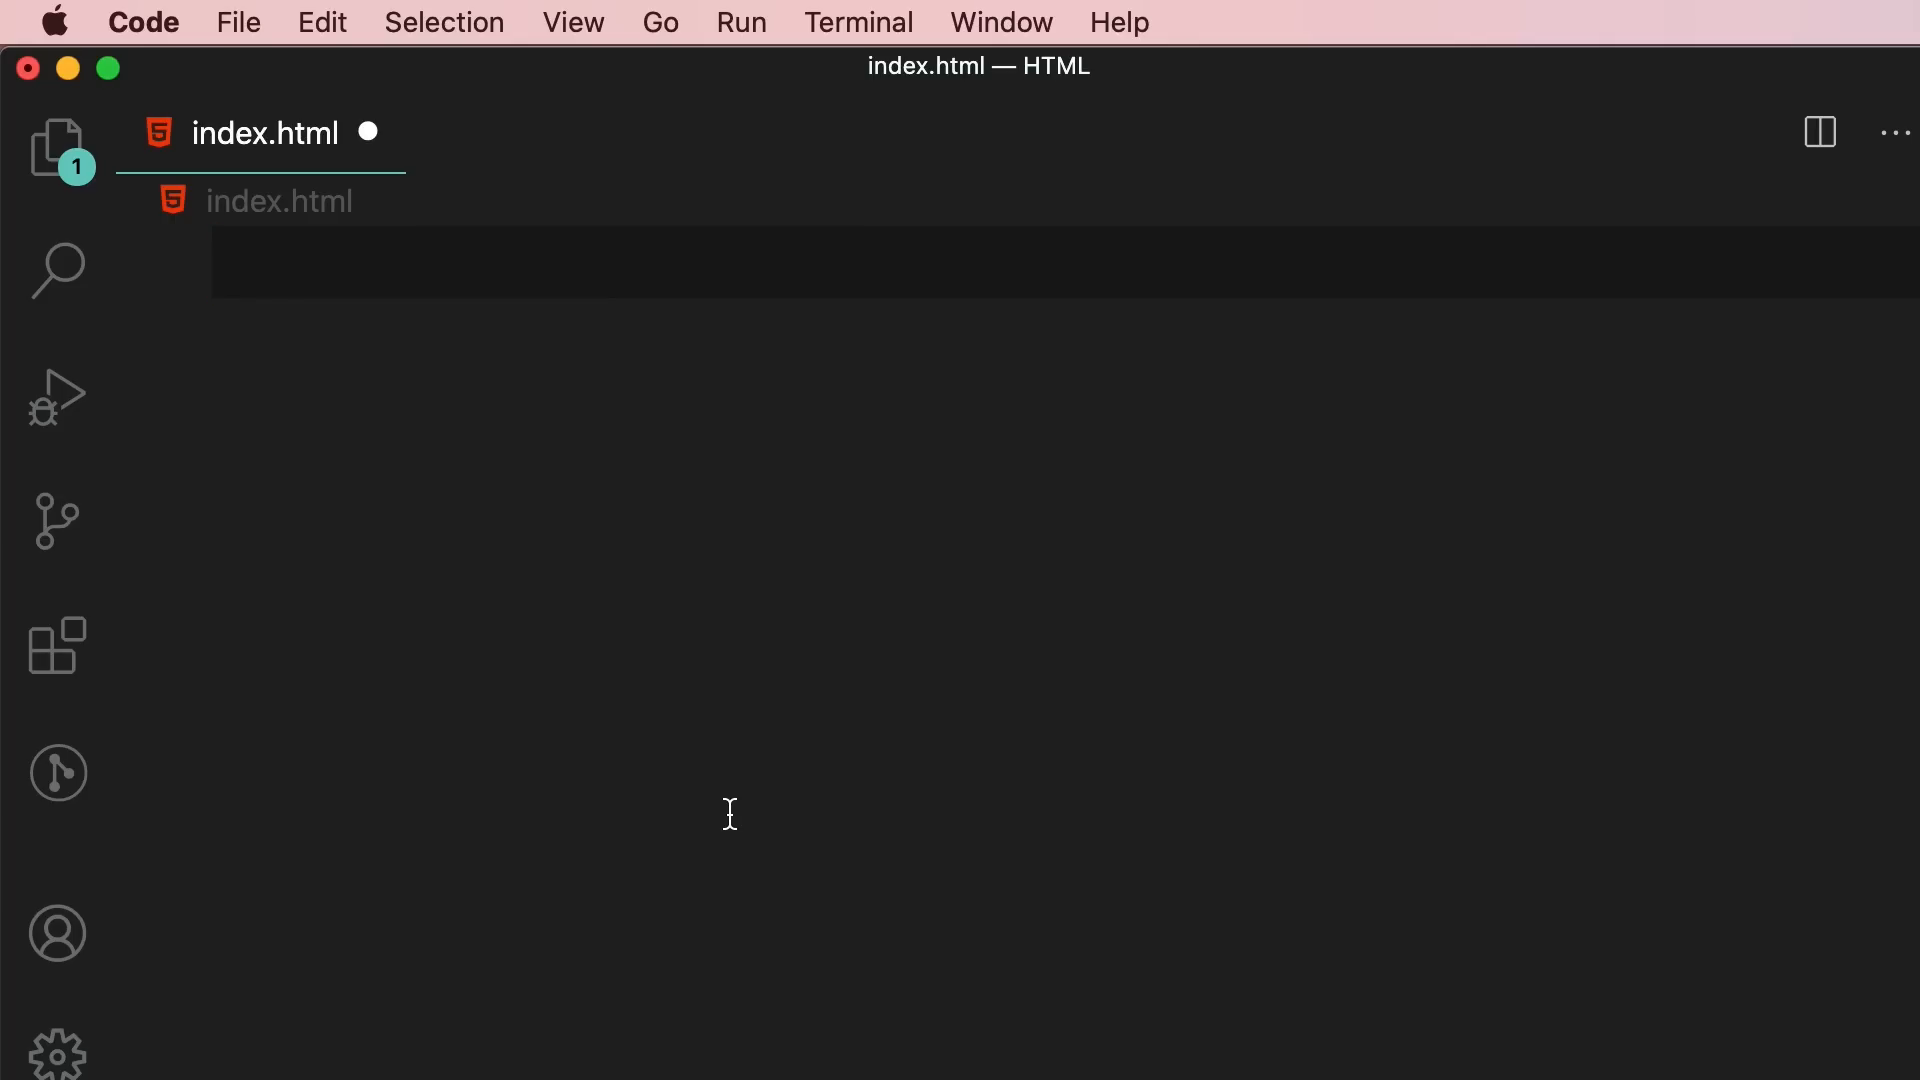
Now that we understand how the web works, let's dive into HTML basics. To create your first HTML document, open your code editor and create a new folder called "html". Inside that folder, create a file named "index.html". This file will represent the homepage of your website.
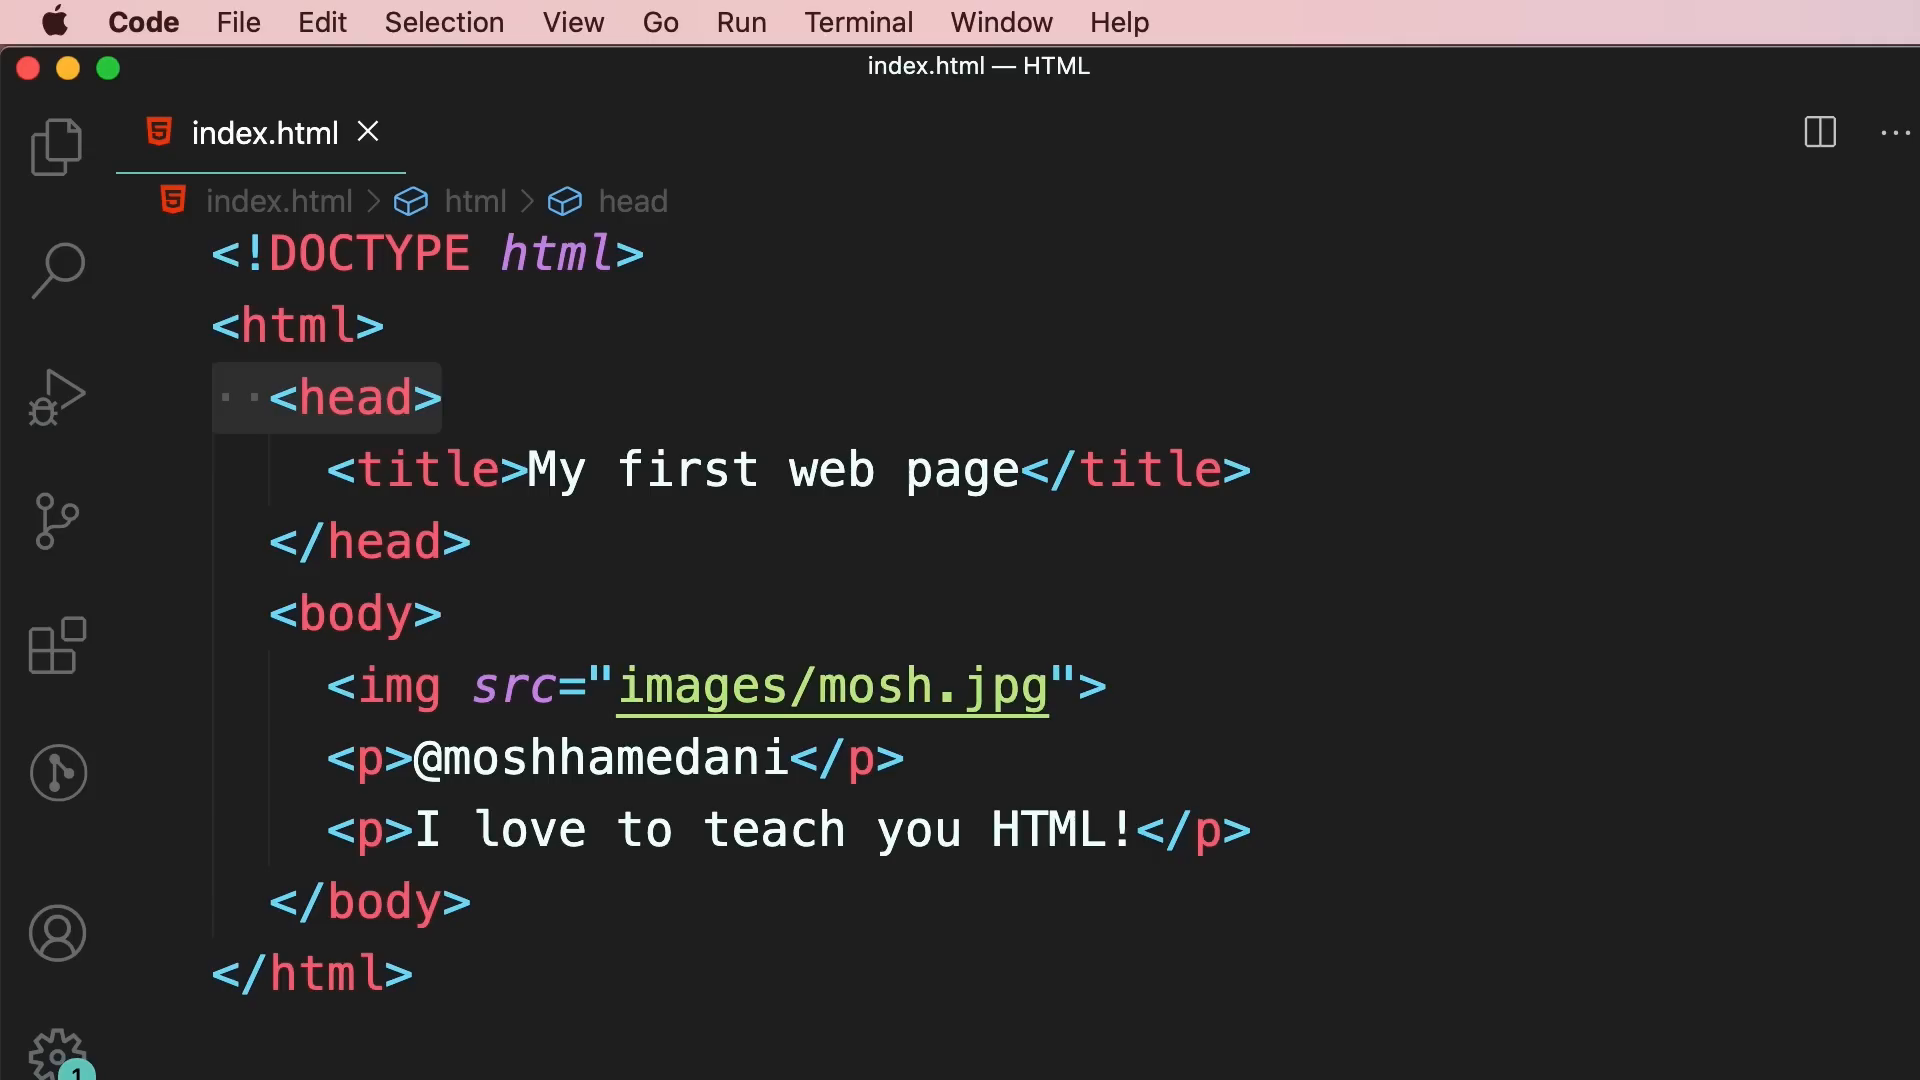
In your HTML file, start by declaring it as an HTML5 document with the following line:
<!DOCTYPE html>Next, create the HTML structure by adding the HTML, head, and body elements. Inside the head element, include a title for your webpage. For example:
<title>My First Web Page</title>Save your changes and use Live Server to preview your webpage in the browser.
CSS Basics 🎨
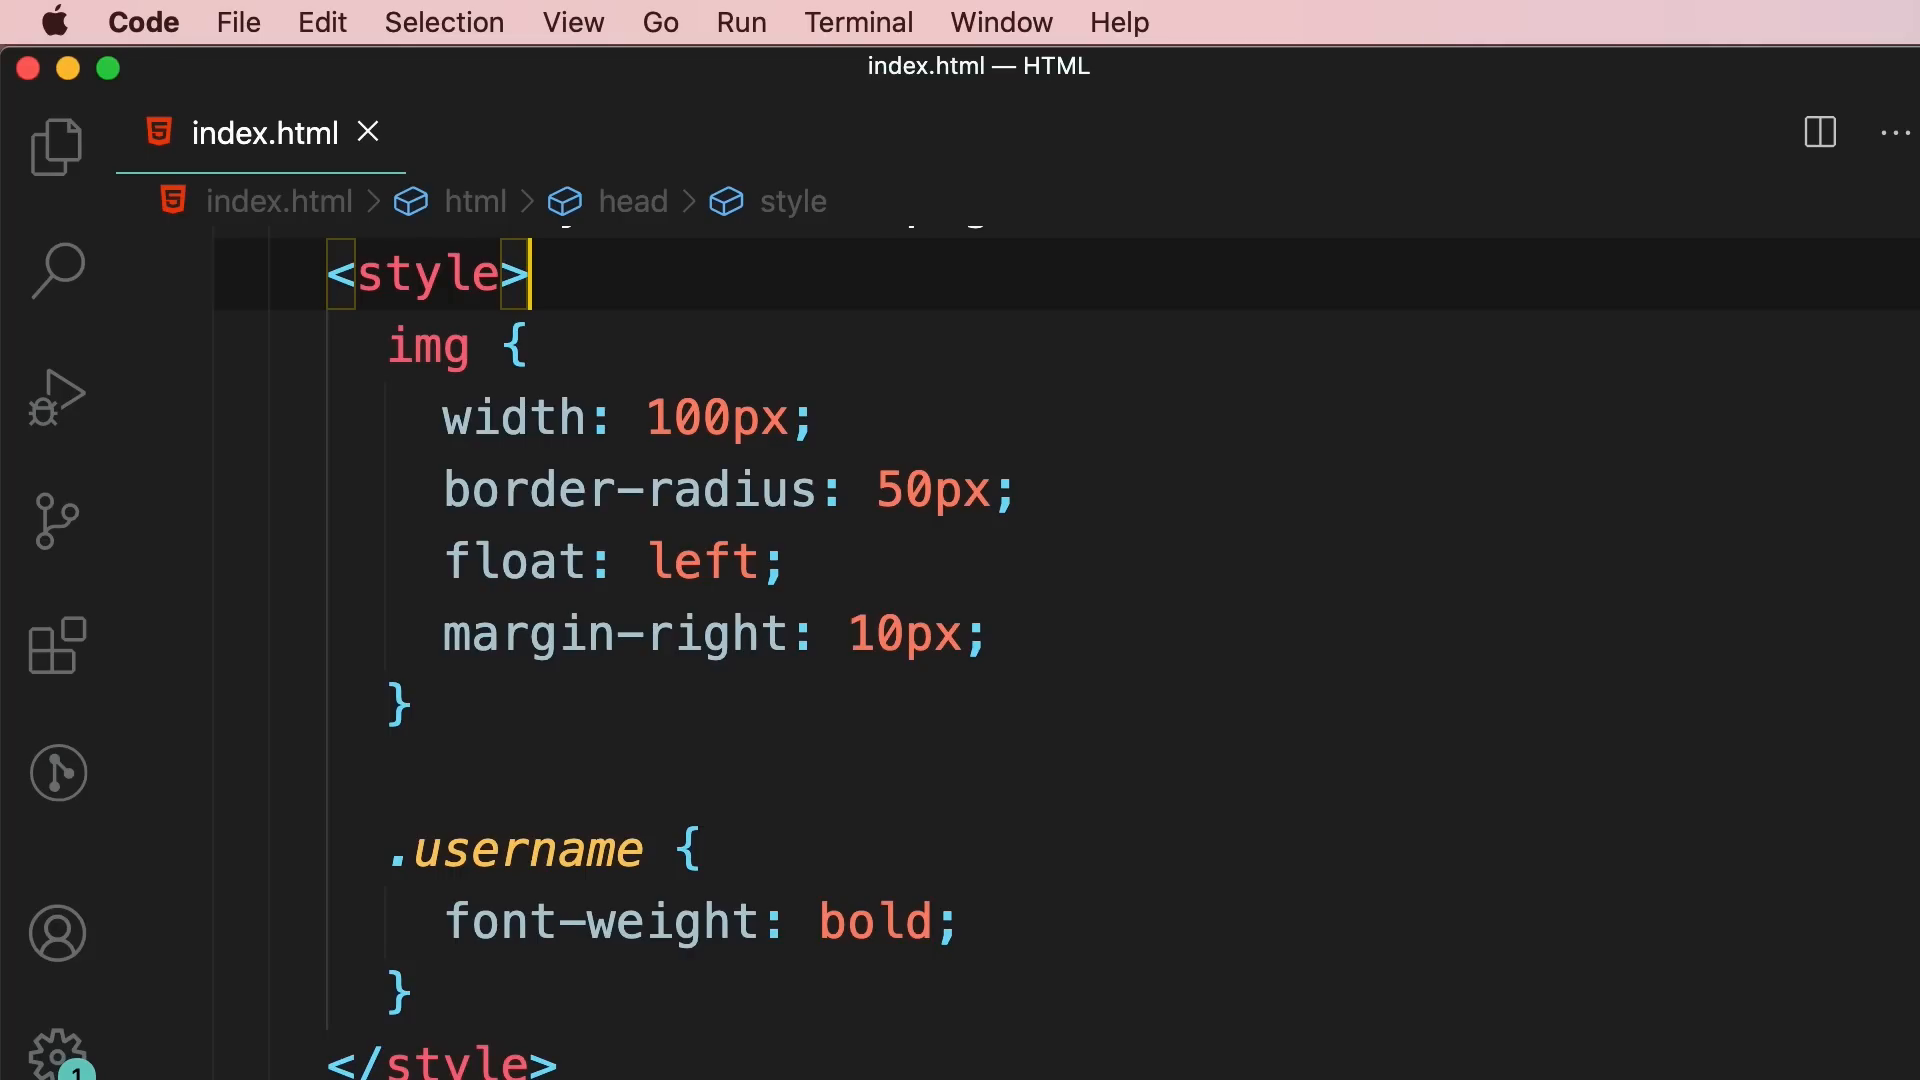
Once you have a basic HTML structure, it's time to style your webpage using CSS. In your HTML document, you can add a <style> element inside the head section to define your CSS rules.
For example, to change the background color of your webpage, you can write:
body { background-color: lightblue; }CSS allows you to control the appearance of your webpage, including colors, fonts, spacing, and layout. The more you practice, the better you'll become at using CSS to create visually appealing designs.
Formatting Code 📝
As you write more code, it's essential to keep it well-formatted for readability. Using the Prettier extension in VS Code, you can automatically format your HTML and CSS code to ensure consistency. This is especially important when working in teams, as it maintains a uniform coding style.
To enable Prettier, go to the command palette in VS Code and search for "Format Document." You can also configure VS Code to format your code automatically whenever you save changes.
Inspecting Pages Using DevTools 🔧
With Chrome DevTools, you can inspect the Document Object Model (DOM) generated by your HTML. This allows you to see how your HTML elements are structured and styled. By right-clicking on an element and selecting "Inspect," you can view its properties and any CSS styles applied to it.
DevTools also lets you play around with styles in real-time. You can modify CSS properties directly in the DevTools and see how they impact the webpage instantly. This feature is invaluable for testing and optimizing your designs.
Validating Web Pages ✅
As you develop your web pages, it's crucial to validate your HTML and CSS to ensure they comply with web standards. This helps identify errors or issues that could affect how your page is displayed.
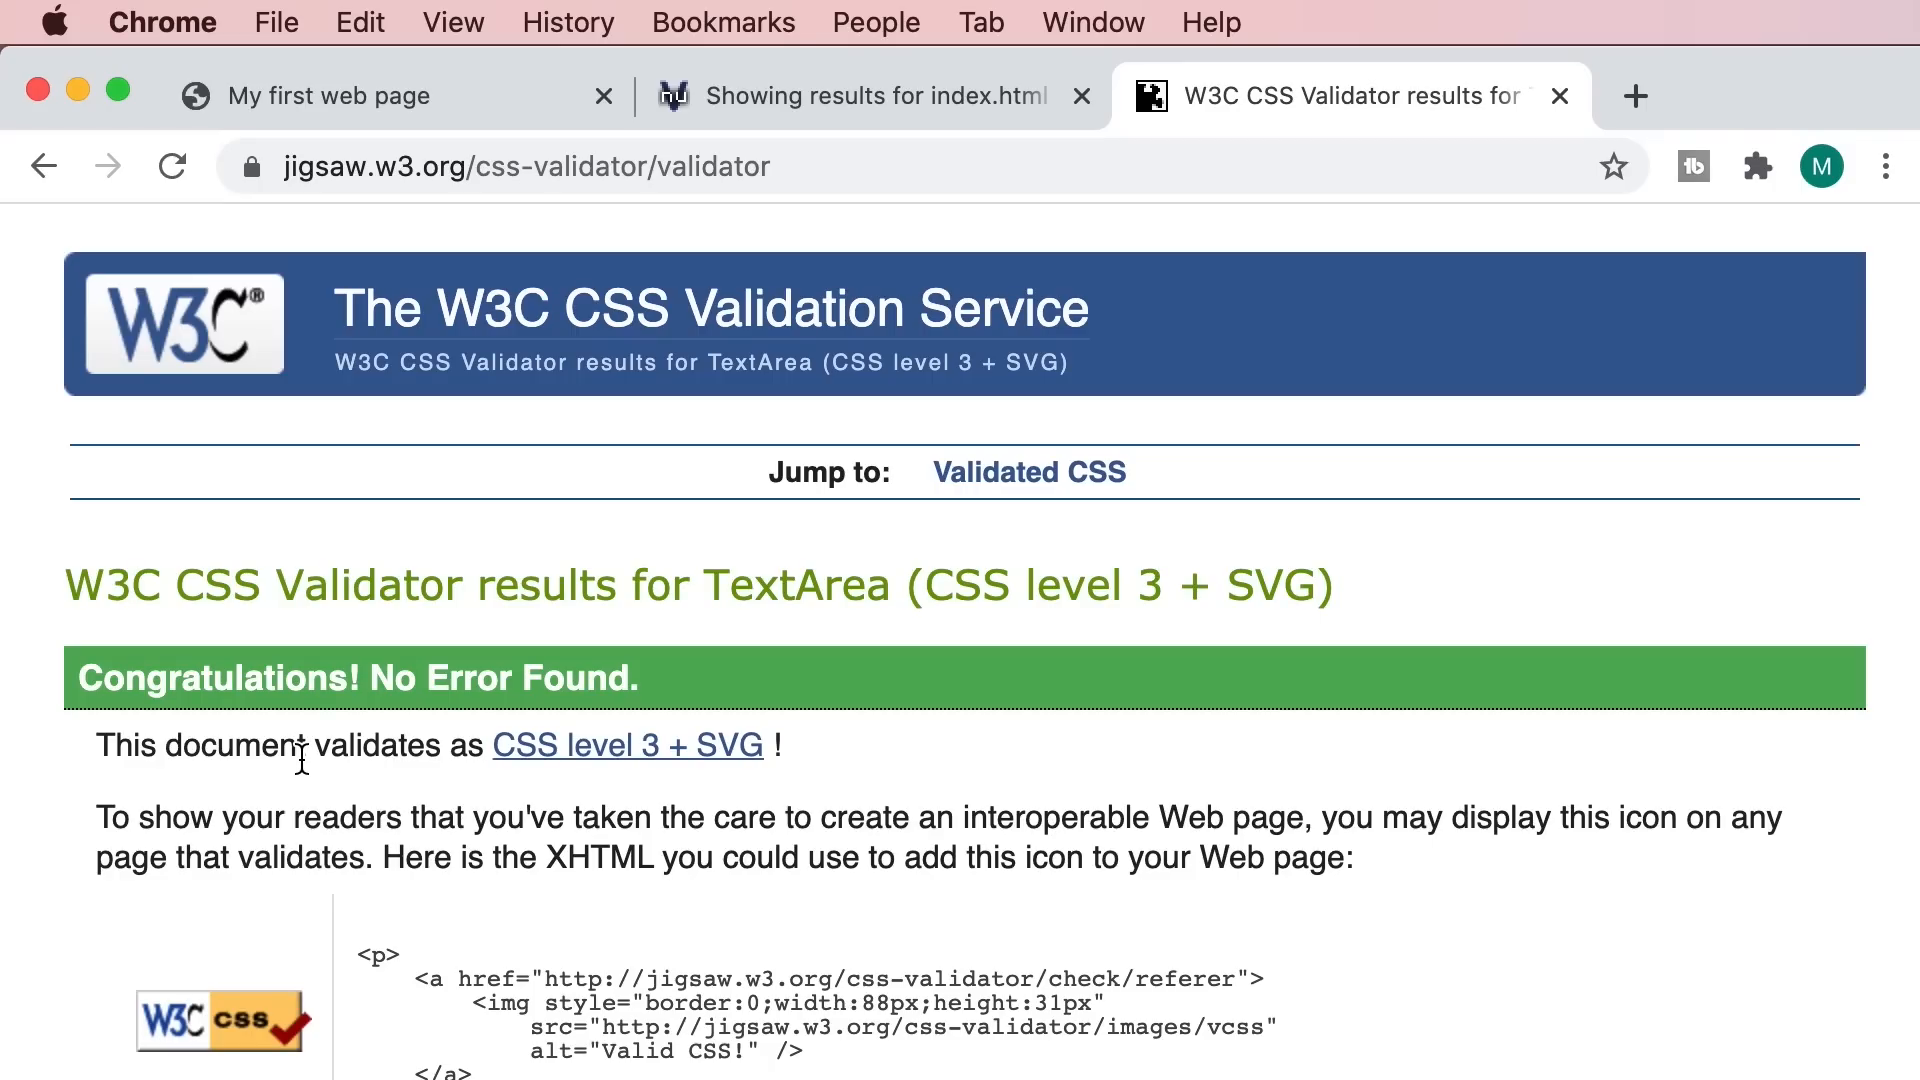
To validate your HTML, you can use the W3C Markup Validation Service. Upload your HTML file, and it will provide feedback on any warnings or errors. Similarly, for CSS validation, use the W3C CSS Validation Service.
The Head Section 🏷️
The head section of your HTML document contains essential elements that provide information about the webpage, such as the title, character set, and viewport settings. These elements help browsers and search engines understand how to interpret your page.
For example, to specify the character set, include the following meta tag:
<meta charset="UTF-8">This line ensures that your webpage correctly displays characters from various languages. Additionally, the viewport meta tag is crucial for responsive design, allowing your webpage to scale properly on different devices.
Text 🖋️
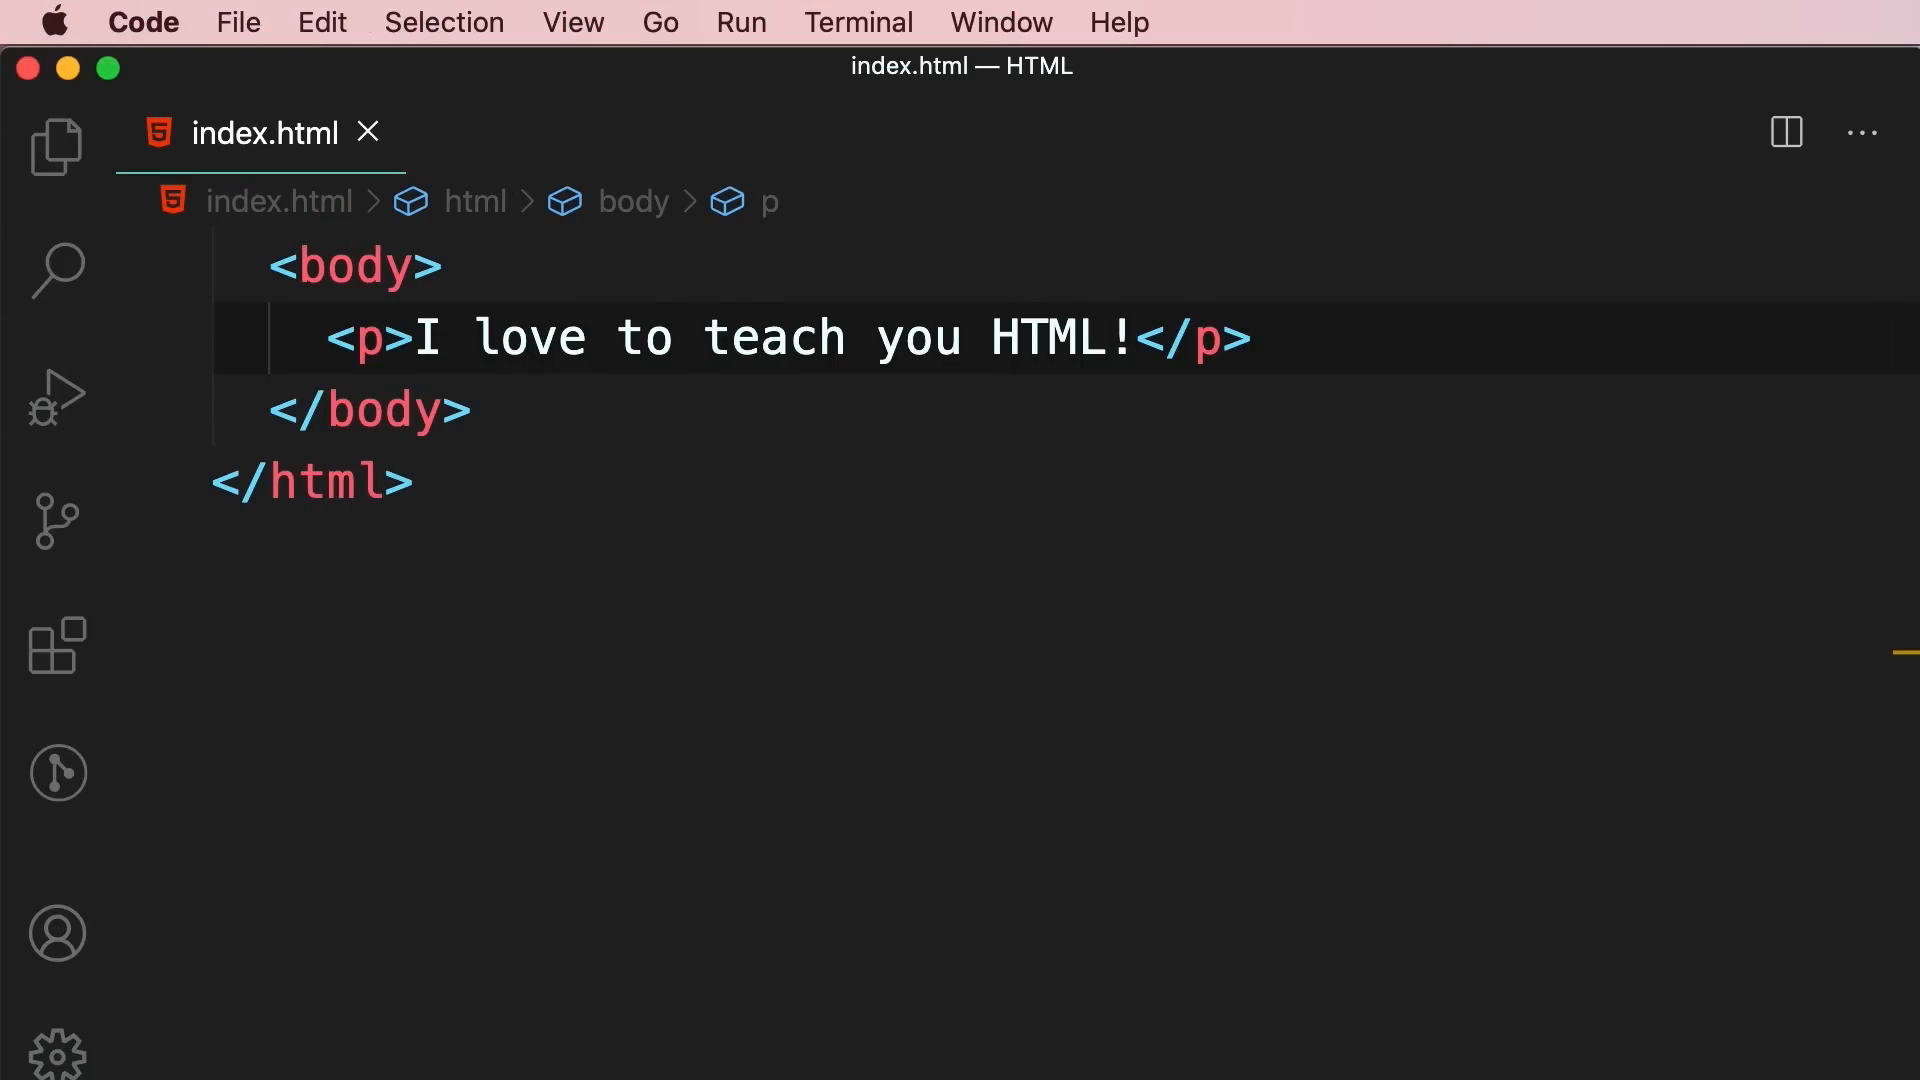
Text is a fundamental component of any webpage. To display text, you can use various HTML elements such as paragraphs (<p>), headings (<h1> to <h6>), and emphasis elements (<em> or <strong>).

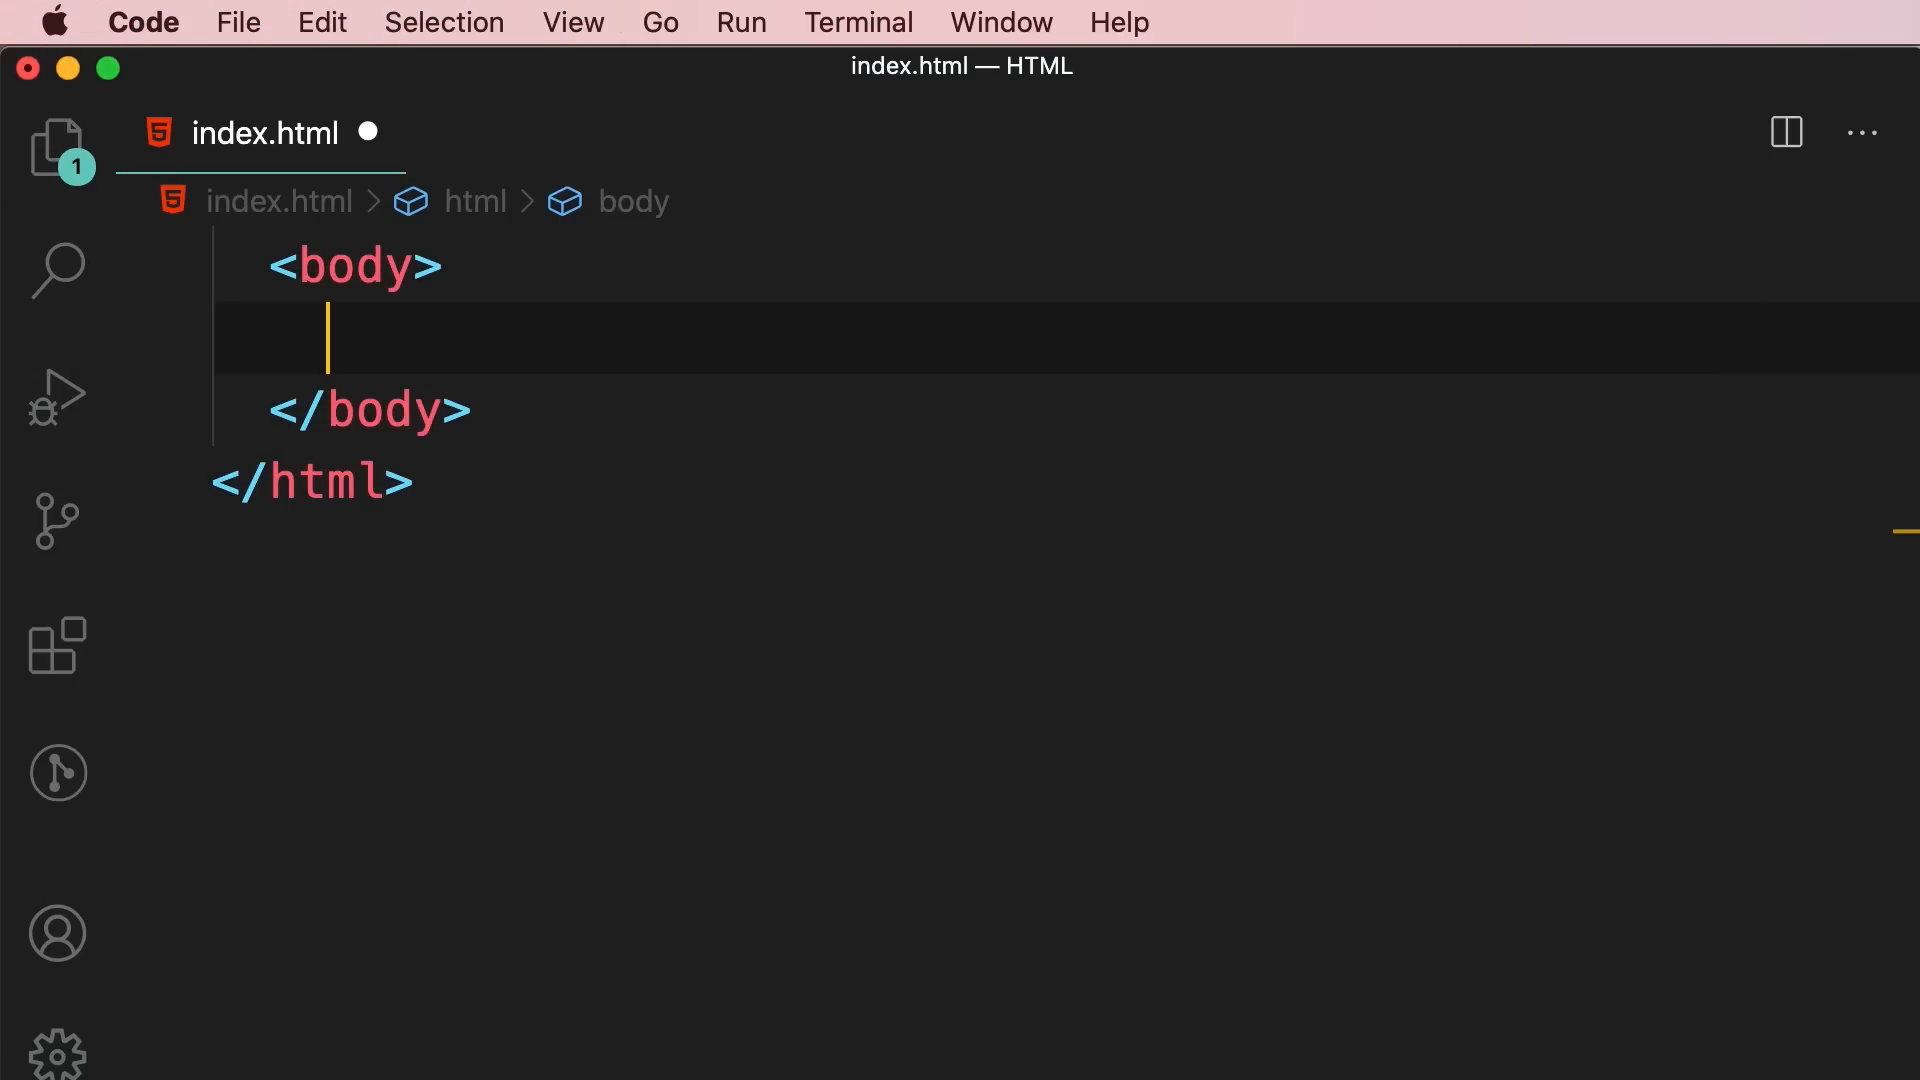
To create a paragraph, use the <p> tag:
<p>This is a paragraph.</p>For emphasis, wrap text in <em> or <strong> tags to indicate importance. Remember, proper use of these elements enhances accessibility and helps search engines understand your content better.
Entities 🔣
Some characters have special meanings in HTML and cannot be used directly. To display these characters, you need to use HTML entities. For example, to display the less-than symbol (<), use < and for greater-than (>), use >.
HTML entities are essential for displaying reserved characters correctly. You can find a comprehensive list of HTML entities online for reference.
Hyperlinks 🔗
Links are a crucial aspect of navigation on the web. To create a hyperlink, use the anchor tag (<a>) with the href attribute specifying the URL.
For example:
<a href="https://www.example.com">Visit Example</a>This creates a clickable link that navigates to the specified URL. You can also link to other pages within your website using relative URLs, making navigation seamless.
Images 🖼️
Embedding images enhances the visual appeal of your website. To add an image, use the <img> tag with the src attribute pointing to the image file.
Don't forget to include the alt attribute for accessibility:
<img src="images/coffee.jpg" alt="A cup of coffee">The alt text describes the image for visually impaired users and provides context if the image fails to load.
By mastering these fundamental concepts, you are well on your way to becoming a proficient web developer. Continue practicing, explore more advanced topics, and build exciting projects!

Really learned from this topic today and I must say the admin is doing a great job on this platform.
ReplyDeleteOne Love 😍