


Creating a social media and community website doesn't have to be an expensive or complicated process. With the right tools and guidance, you can build a fully functional platform using just your smartphone or tablet. In this blog, we will walk you through the step-by-step process of creating your own social media site using WordPress, all for free!
📱 Getting Started with WordPress
The first step in creating your social media website is to set up a WordPress site. You can use a free domain and hosting service to begin testing your website. This allows you to see how your platform will function before investing in a custom domain and hosting.
To start, navigate to your WordPress site and click on the menu button. From there, you'll have access to various options. Begin by clicking on "Appearance" and then "Themes." Here, you can upload a theme that serves as the framework for your website.
🌟 Installing Your Theme
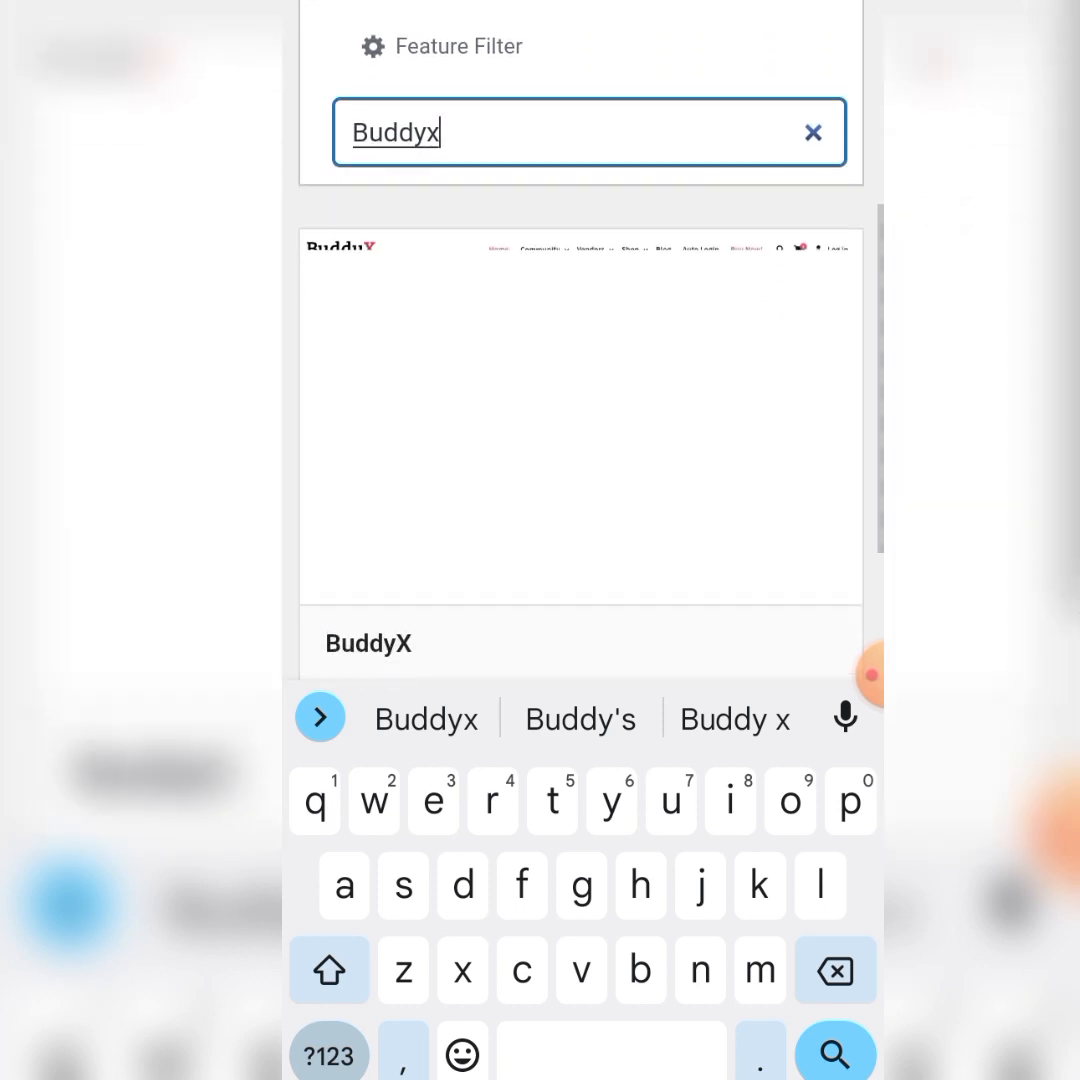
For our social media site, we will use the BuddyBoss theme, which is both free and premium. Search for the BuddyBoss theme within the WordPress theme directory. Once found, click on "Install" and then "Activate" to apply the theme to your site.
After activation, WordPress may recommend several plugins to enhance your website's functionality. Select all recommended plugins and use the bulk action menu to install them simultaneously.
🔌 Adding Essential Plugins
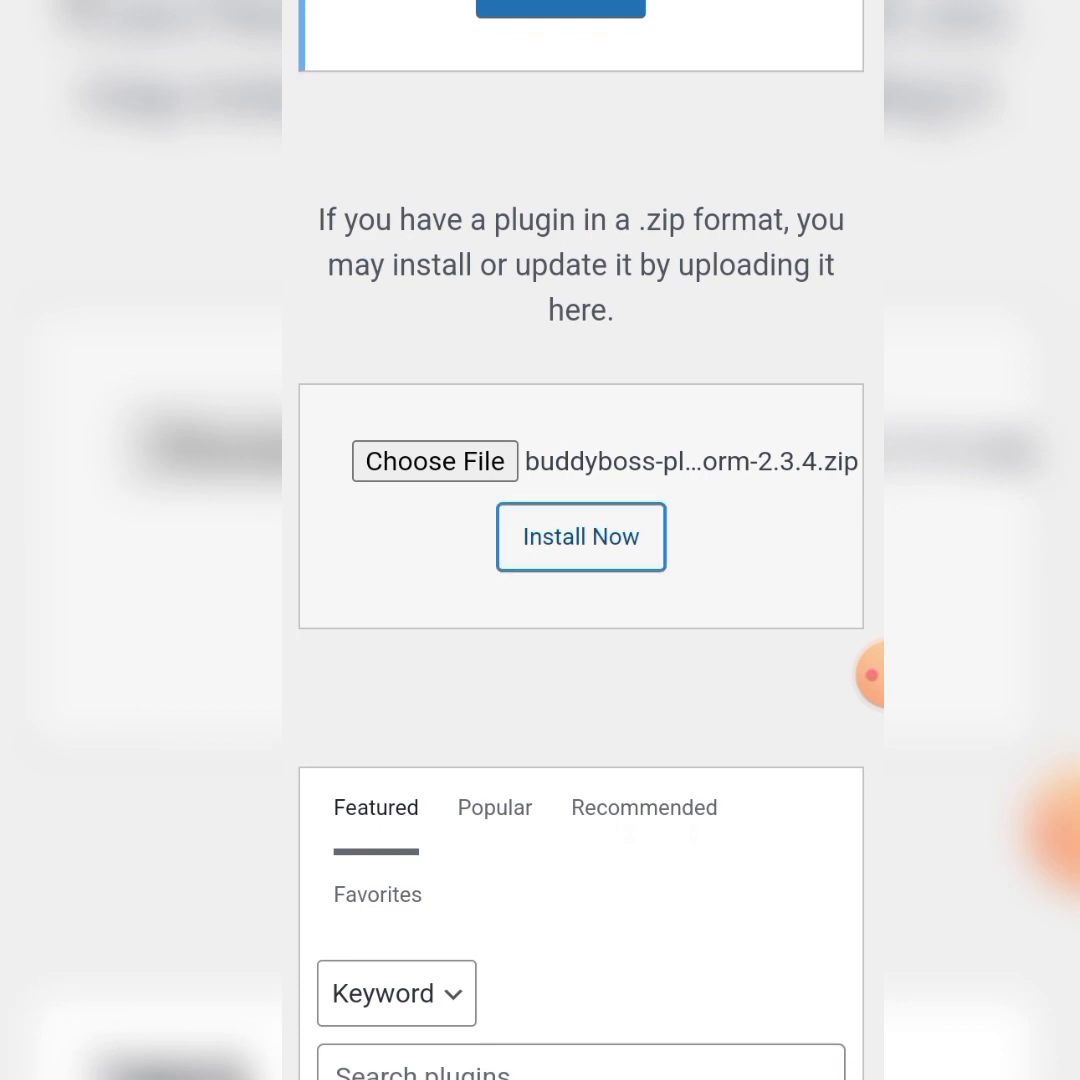
Plugins are crucial for adding additional features to your website. To install plugins, navigate to the "Plugins" section and click on "Add New." Here, you will upload the BuddyPress plugin, which is essential for creating your social media functionalities.
Download the BuddyPress plugin from the provided link and upload it to your WordPress site. After the upload is complete, click on "Activate Plugin" to make it live on your site.
⚙️ Configuring Your Settings
Once your theme and plugins are installed, it's time to configure your website settings. Navigate to "Settings" and then "General." Here, you can set your site title, tagline, and allow user registrations.
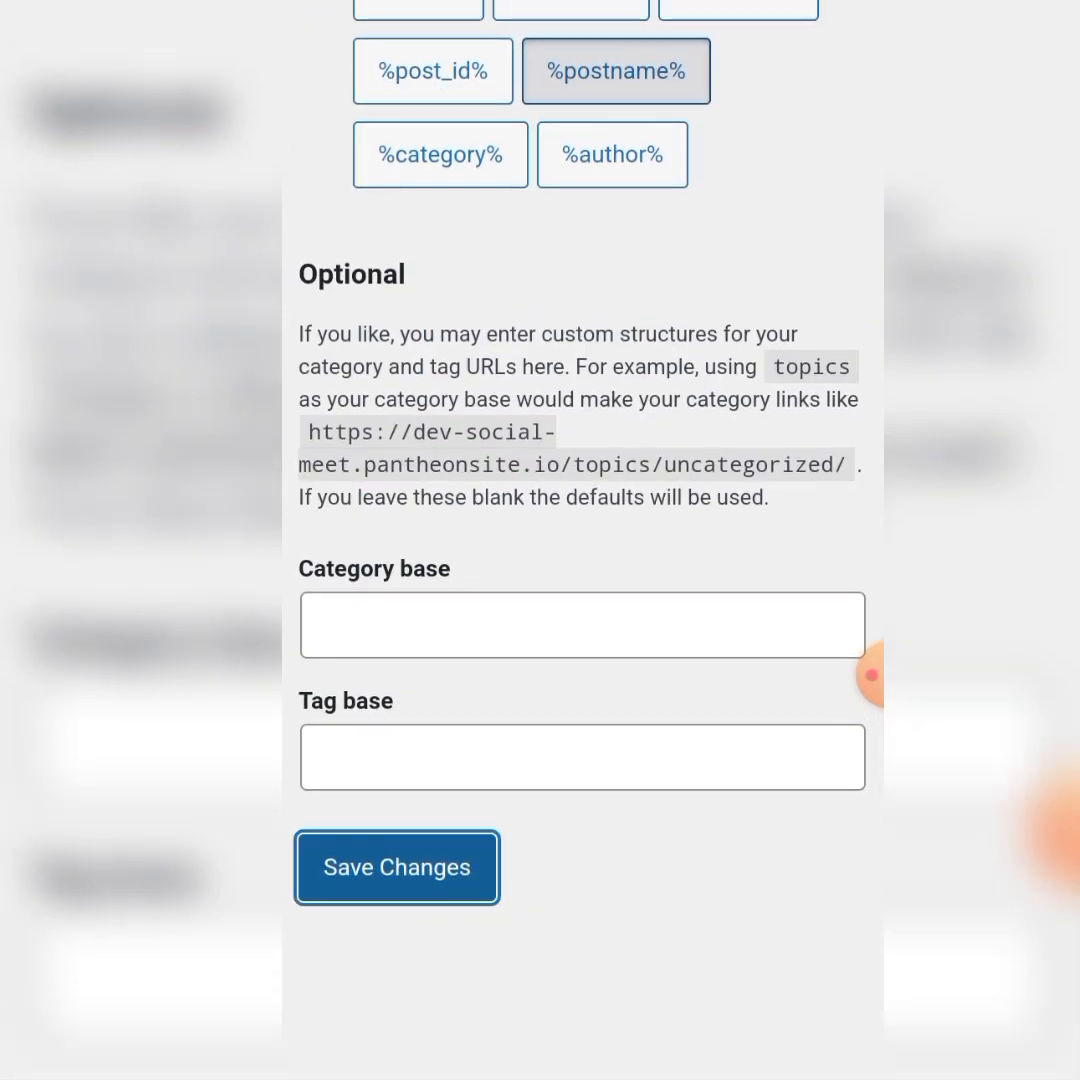
Next, go to the "Permalink" settings and set it to "Post Name" for better SEO optimization. This makes your site more discoverable by search engines.
📄 Creating Key Pages
After configuring the settings, you can create essential pages for your website. Click on "Pages" and then "Add New" to create a "Blog" page where you can post updates and articles.
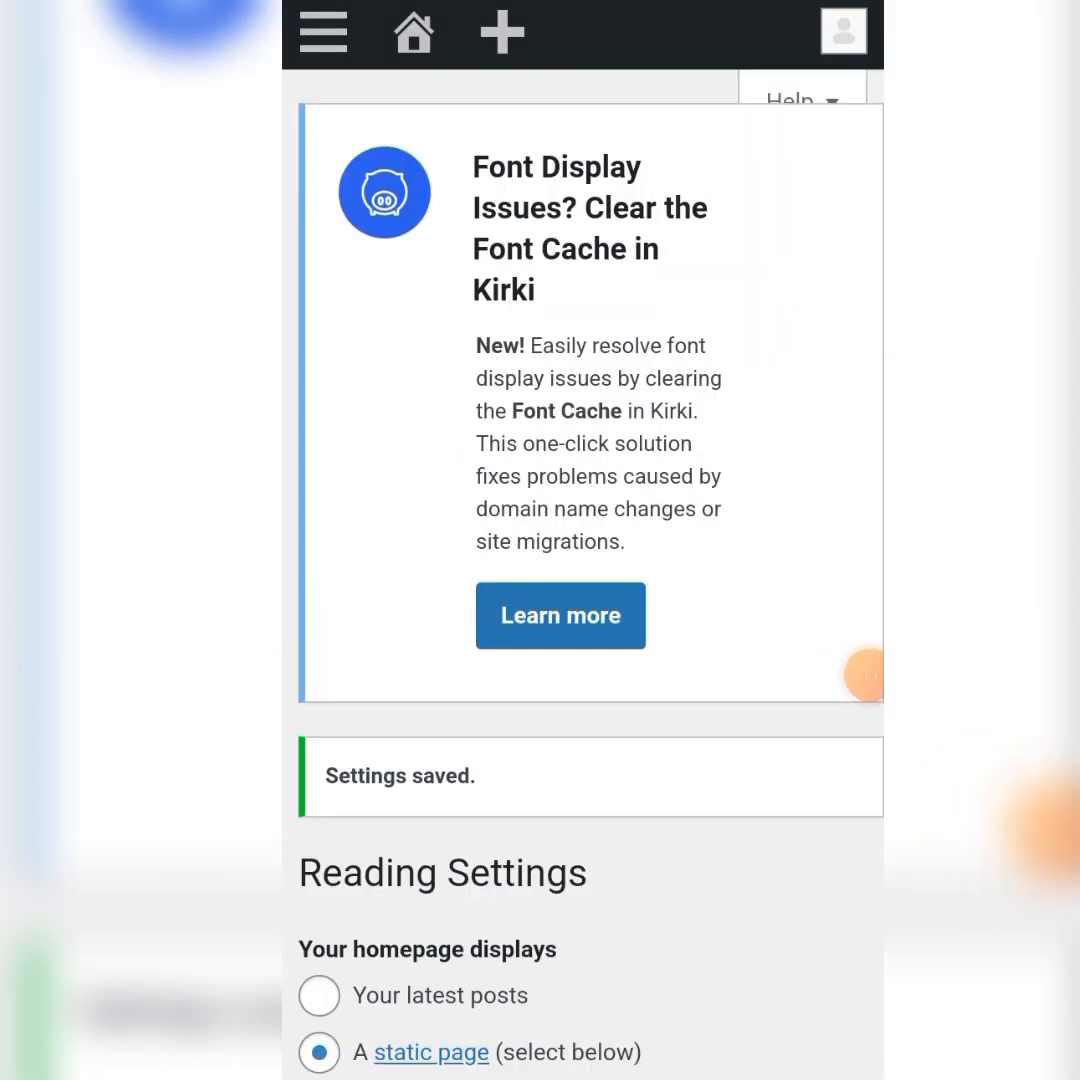
Additionally, you will want to set your "News Feed" as the homepage. This can be done under the "Reading" settings by selecting "Static Page" and choosing your News Feed as the homepage.
🛠️ Customizing Your Community Features
With the foundation of your website set, now it's time to customize the community features. Click on the BuddyPress settings to enable components like forums, groups, and member profiles.
Make sure to allow users to create groups and send messages within the community. These features will enhance user interaction and engagement.
🖼️ Adding Widgets and Sidebars
To improve the user experience, add sidebars and widgets to your pages. Go to "Appearance" and then "Widgets." Here, you can customize what information appears in the sidebars, such as member lists and online users.
Ensure that your news feed page has sidebars enabled, which can be done by editing the page settings to include two sidebars.

🎨 Final Touches and Customization
Finally, you can add a logo to your site and customize the login page. This can be done through the "Customize" option in the Appearance menu.
Upload your logo, select a background, and adjust the login settings to match your brand identity. This not only makes your site visually appealing but also enhances the user experience.
🎉 Launching Your Social Media Website
Congratulations! You have successfully created a social media and community website using WordPress. You can now invite users to join, create groups, share content, and engage with each other just like on any major social media platform.
Don't forget to share your platform with friends and family to build your community. If you have any questions or need further assistance, feel free to reach out!
💬 Join the Community!
For more tips and tricks, or to engage with others who are also creating their websites, consider joining our WhatsApp Group!
